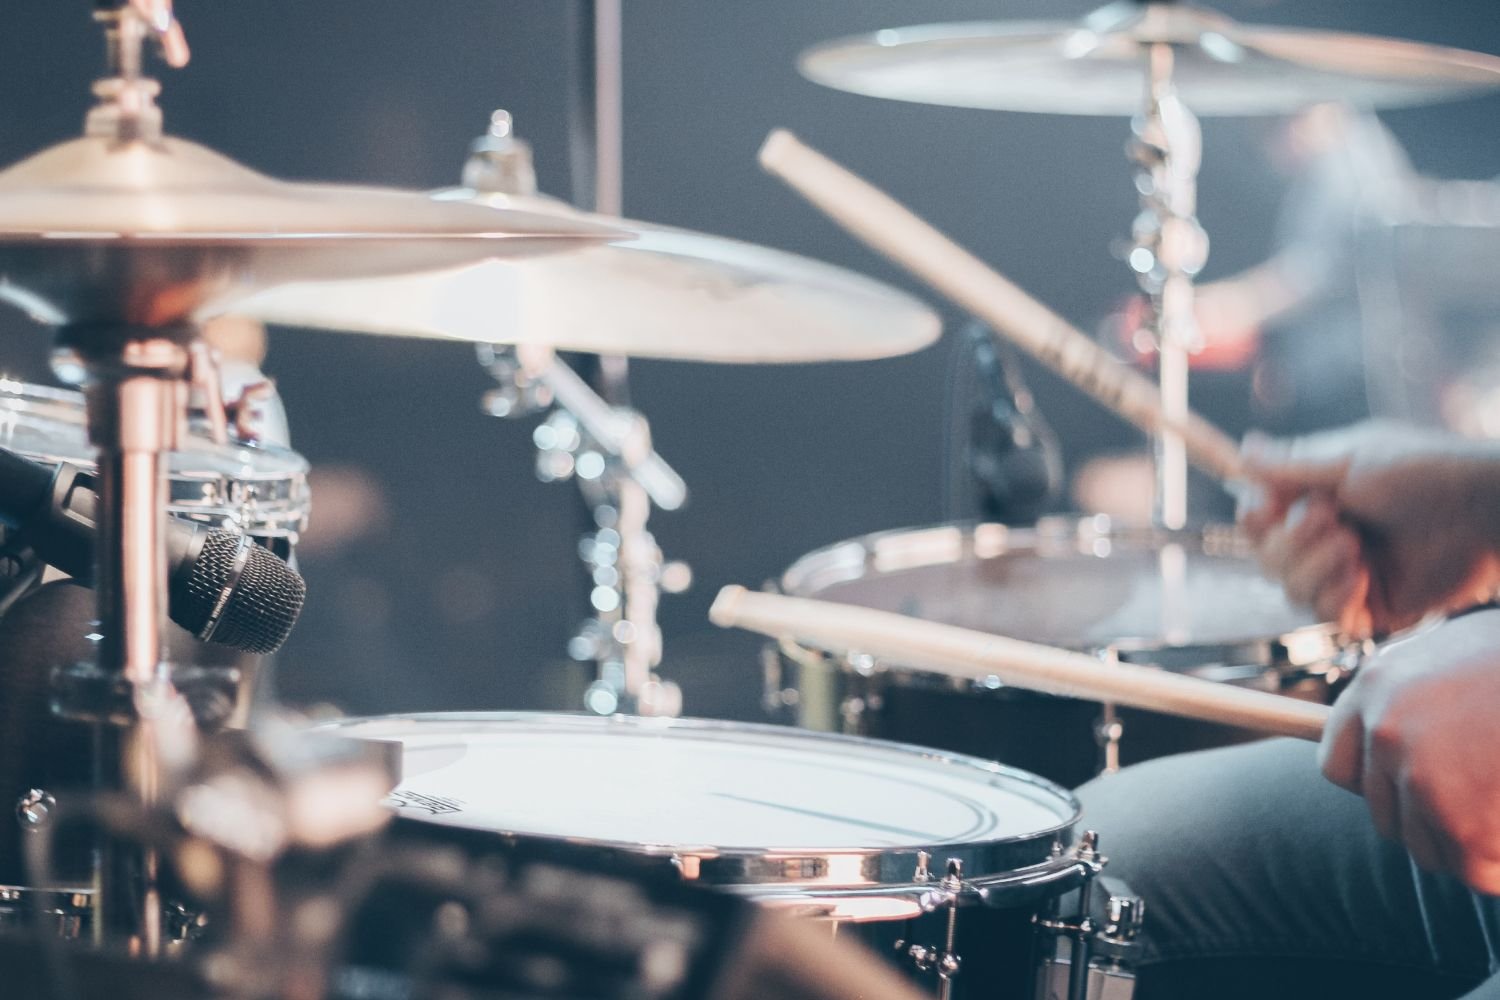
28 Nov Recording studio quality drums with only four micriphones
Consider this a brief guide – compiled over the course of some serious, super late night YouTube research – for those of you who have always found the process of drum recording at home, or with limited equipment, to be a down right head scratcher. Turn four mics into recording studio quality drums!
What you need to know:
- Although some engineers tend to use upwards of eight microphones on a drum kit in the recording studio, you can achieve a quality sound at home using four strategically placed mics.
- A mixture of condenser and dynamic microphones is crucial to getting a good, punchy sound from home.
- Experimenting with engineering techniques such as the Glyn Johns or Recorder Man placement technique can unlock a range of great recording studio quality tones.
Never miss an update – sign up to our newsletter for all the latest gear news, reviews, features and giveaways.
The interface
I probably could have saved more and got a cheaper eight preamp channel interface at the cost of sacrificing some sound quality but in the end, I settled on getting an Audient iD44 – a four channel interface with high-quality preamps from Audient’s larger consoles, dedicated guitar DI inputs, USB-C and expandable ADAT connectivity (for extra channels later on) as well as some many other handy features.
Yes, the only issue was that it was just four channels, but after much talk with people in the know, the advice was that I work on being able to get a decent sound with just four mics and get to know the gear and techniques involved first before complicating things with multiple mics.
With my mind at ease, and I had my mission. How do I get a good sound with only four mics? Here’s my brief solution.
Yes DAW, I do need mics
There’s a bunch of DAW options available, but you do need one. I chose Logic because the workspace is simple, and it has a stack of awesome stock plugins. I decided to use my vintage ‘60s Ludwig Super Classic and to try applying some of the recording (playing sessions) techniques I’ve learned over the years.
I thought it would be easier to go with a dampened, deader sounding kit – tape/tissue on the snare and tuned lower to get a phat ’70s vibe. Toms too – lower and thick sounding, applying dampening where needed to get a note but keep it controlled.
It’s really an experimenting game here. Start with loose heads and gradually bring them up until a note appears, then tweak the dampening until you get the vibe you want.
Another technique is to go with tea towels or thin cloths on the drums – instant dead and super ‘70s. Takes the guess work out of tuning too!
The only mics I had were a Rode NT2 large diaphragm condenser, an Audix D6 that I use in my bass drum when playing live and a couple of Shure staples – SM57 and Beta57 as well as a Sennheiser 935 vocal mic.
I figured I could get something happening with these microphone selections then a great producer friend of mine Mitch Cairns mailed me out a matched pair of MXL 603S mics pencil condensers and I was suddenly in the game. I had a variety of mics to at least experiment with. But where do I place the mics?
Glyn Johns
My first attempt at recording the legendary Glyn Johns (producer/engineer for Led Zeppelin, the Rolling Stones and way more) method is only technically a three-mic affair. It’s a fairly live sound (no close mics on the toms) and generally relies on a larger, great sounding room – which I don’t necessarily have. Regardless, this simple drum mic’ing technique uses a bass drum mic and two large diaphragm condensers as overheads.
The first is approximately 1 to 1.2 metres directly above the snare drum and the other measured equal distance from the snare drum 90 degrees just past the floor tom. The distance from the mics to the snare drum is crucial so the loudest sound on the kit hits the mics at the same time and this avoids phase issues, which can leave your mix sounding weird, thin etc.
The idea with Glyn Johns is to achieve a simple but balanced ‘image’ of the drumkit in the mix. The snare drum should sound in the centre of the image with the rack and floor toms at even volumes.
I actually found that the floor tom was usually louder than the rack tom, so the second mic often required some moving. Regardless of where I moved the mics, I always maintained that equal distance from the snare.
Speaking of the snare drum, I decided to cheat here and actually close mic it because I really loved the idea of being able to manipulate the sound individually from the overheads. I experimented with different mics but an SM57 usually got the gong.
Likewise, because I didn’t have two large diaphragm condensers, the matched pair pencil mics were substituted for the overheads and they worked well. I actually tried using the Rode NT2 on the bass drum for a more natural sound but generally anyone I recorded for preferred the scooped vibe of the D6 on the kick.
The thing is, the more I experimented with mic placement in the recording studio, the more I moved that floor tom side mic and really, it ceased being the Glyn Johns technique. I didn’t love my room sound/ceiling reflection that much and wanted to bring the overheads closer a little for more toms, but then I usually got too much hats. Then I stumbled on another technique called Recorder Man.
Place the first overhead straight over the snare or even pointing directly between the snare and the rack tom at a distance of two drumsticks high – the magic measuring tool. Place the other overhead the same distance but behind the right shoulder – if you’re right-handed – pointing back at the snare drum.
Now, even though that mic is behind you, the hi-hats can’t bleed through that second overhead as much and because it’s a little higher, the floor tom isn’t automatically louder than the rack. It’s a great compromise overall. You can then really just play around but again, equal distance from the snare just keeps it safe.
Overall
There are many other techniques including a simple XY configuration in the recording studio, but I did like the idea of being able to independently move those overheads to capture the kit how I saw fit. At one point I even just close mic’d the toms with the pencils and had no overheads! With towels on the drums, that was actually awesome.
In Logic, I’d apply some basic EQ on the mics – usually a gentle high pass filter and then just pulling out nasties here and there. I’d apply some compression and experiment with parallel compression, where you basically apply the effect to a copy or auxiliary of the channel so you have the original sound and just a compressed sound that you can blend.
There’s a multitude of videos out there so go hunting for how to EQ and apply effects to a drum-kit sound. Overall, the technique/s above yielded a natural sound overall, a good base to play with and definitely got me in the recording game. I’m hooked!
How much gear is too much gear when it comes to a recording studio? We’ve got you covered.

